I documented my journey in re-discovering the guitar a few times on this site. That re-discovery led to a desire to practice every day, explore music theory, write my own songs, and record my own music. So, as you can tell, it’s mostly things I can do at home. In other words, I’m mostly a bedroom guitarist. I’d love to play gigs with other musicians someday, but it’s not happening just yet. That said, playing every day is crucial for me. This means, even when I’m on vacation, I want to play. I don’t care if it’s only for 20 minutes, or 40, or whatever. I just want to play. I recently went to Vegas for vacation and had to figure out what I should do for travel. I’m sharing the gear I used on the way in case it helps inspire some ideas for you too.
Before we get started, I should note that I am not affiliated with any of the following brands. This is not an ad! These are all just my opinions on the gear I tried on my recent trip.
I didn’t use to think about travel gear too much. Like I said, I stopped playing for a long time and picked up again a couple of years back. And now I’m much more serious about it than I ever was. So, when my wife and I travel around, if we’re traveling by car, I try to take one of my regular guitars with me; mostly my Jackson DK2S. I do worry about accidentally damaging the guitar, but certain risks must be accepted if you want to keep practicing. I’ve also rented guitars from Guitar Center a couple of times when I didn’t want to travel with one of mine. That’s a good way to get to experience a different guitar every time, but depending on how many days you’ll need it, it can also cost you a pretty penny. Since we were going to fly, I wanted to experiment with a third option. One that wouldn’t cost so much in the long run and wouldn’t make me worried about a more prized possession.
I started considering buying a smaller size guitar solely for travel. Traveler Guitar is probably the most aptly named company, as they do exactly what they tell you in their name. I became aware of them a few years back, but when it comes to smaller size guitars, you just never know how comfortable you’ll be. What if you buy one and it’s so incredibly uncomfortable to play? And some of the designs, though smartly engineered to be compact, were not so easy on the eye.
My perception changed a bit when I saw their collaboration with LTD. Yes, that LTD; ESP’s more affordable line. If you look at those, you’ll see the shape even resembles ESP’s very own Eclipse models. I say resembles because there are some major differences in order to make this a “traveler” guitar. First and foremost, this guitar is headless. The tuning pegs are in the body of the guitar. The strings go through the back. Second, the body is smaller in scale. And third, there’s only one humbucker and it’s ESP Designed, not an EMG that you usually see in an actual Eclipse. All these things are meant to turn the Eclipse into a compact guitar that you can easily carry with you. But there’s one area on which they didn’t compromise: the scale length! This guitar features the full 24.75’’ that you’d expect. Overall, I’d argue this guitar looks better, and is more versatile, than most of the traveler guitars out there. And it was incredibly easy to carry. It fits on the plane without any problems and you won’t hear anyone complain.
One issue is the price point. If you want to buy these new, they go for about $600, which is quite pricey. That’s what stopped me from buying one for a long time. Last summer, I saw one for half the price on Ebay so I grabbed it. If you are hesitant about traveler guitars and don’t want to spend too much, keep an eye on Ebay.
So, how do they play?
Well, this is going to be subjective, but I suppose it’s true for any guitar. I like it for what it is. I don’t intend to do any recording or gigging with it. It’s just meant for practice when I travel. And for that, it works perfectly! The full-scale length is great because the skills are transferable. If you are getting better at something, you’ll be able to repeat it with your regular guitar at home. This is not a miniature guitar, it’s just a traveler guitar. The fact that the body is smaller does feel a little awkward at times. I haven’t been able to place it comfortably on my legs to play sitting down, which is a bummer because I don’t end up wanting to play it for too long. It just makes my back ache because you have to sit in awkward positions to get the guitar to sit just right. Playing standing up is a better idea with this, but if you’re just practicing, I don’t know that you’d want to do that every time you play. And again, because the body is smaller, palm-muting felt less comfortable than it did on regular guitars. It’s not really a big deal as I can still practice a lot of different techniques, but it’s worth mentioning.
I will also add here that changing strings will be a little challenging at first due to the smaller space you’d have to work with. I would highly suggest you watch a tutorial video from Traveler Guitar itself. I applied their tips and everything went much smoother.
In order to keep my travel gear as small as possible, I decided to use Positive Grid’s BIAS FX Mobile on my iPad. I bought the Apogee Jam to be my interface. The Jam is a really versatile interface. It comes with a few cables, so you don’t have to use it on your iPad, it’s perfectly fine as a USB interface for your laptops too. I won’t talk too much about the Jam because it’s a great product and does exactly what you want it to do. I’m starting to like the Apogee brand more and more. This is my third product from them and none of them has disappointed me.
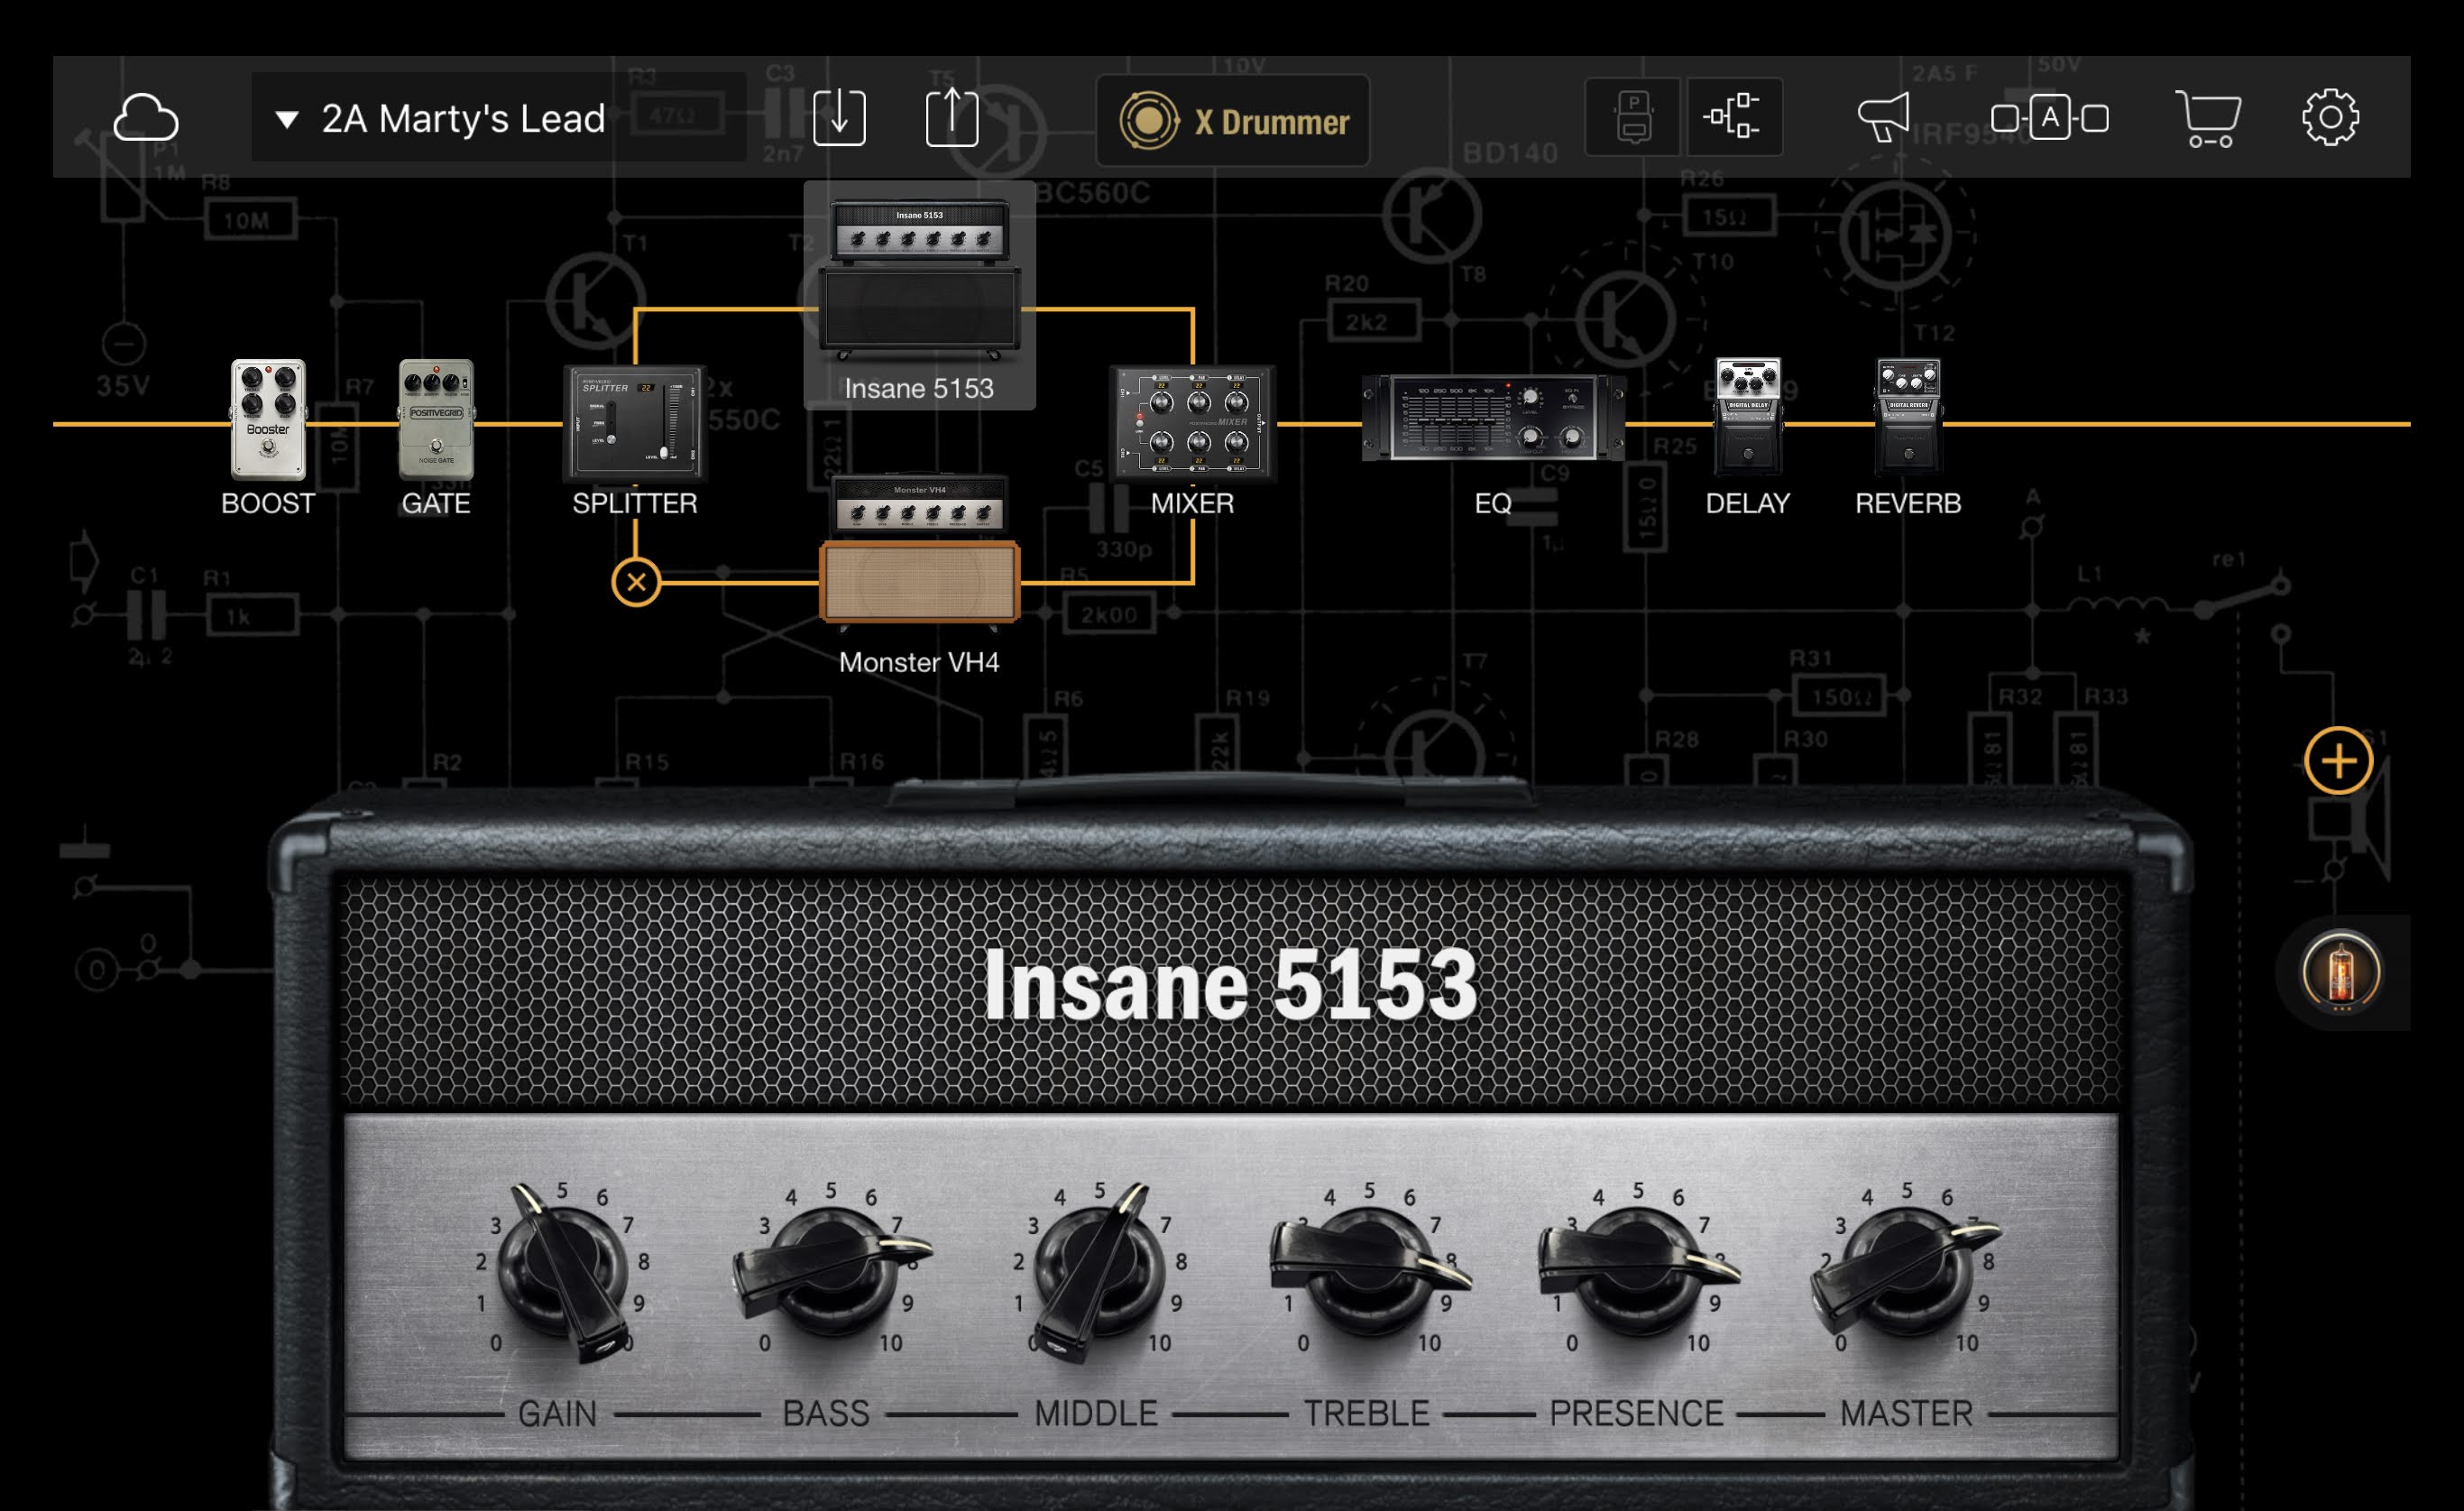
There’s been a lot of talk about the BIAS FX Mobile online so let me touch upon that a bit. I’ll start by saying I like it a lot. Listen, if you expect a mobile app to do what an AU or VST plug-in can on your iMac, then you’re not being fair at all. Having said that, I’ve tried IK Multimedia’s Amplitube mobile app and in my opinion the BIAS sounds so much better. Plus, it’s so much easier to use! Amplitube isn’t super user-friendly. Furthermore, what BIAS offers is a much clearer bundle. You know what you’re getting with a few different bundles, and you get a lot within each! With Amplitube, I felt like everything was extra. You just have to keep paying to get to a certain variety in your tone. The last time I tried Amplitube was more than a year ago, so I fully acknowledge that they may have made updates. But with BIAS, I got going right away. While it’s easy to create your own tones, you don’t even have to go there. I downloaded a few patches from the BIAS ToneCloud. There’s some great stuff there and what I got was even better than what I needed for travel practice. I actually started practicing with some of these tones at home now! And a good rule of thumb when it comes to tone, if it is good enough for Marty Friedman, it’s good enough for me!
The headphones I used were an old pair of Bose Noise-canceling headphones. I have far better ones at home for when I record, but I needed voice canceling for air travel. I wasn’t gonna pack two pairs of headphones for practice either. There are better options for playing, but I got what I needed.
So, there you have it. This is my current travel gear and so far, everything has been working well to keep me practicing with a wide variety of tones. If you have any questions about any of the equipment or apps I talked about, let me know! And I’m curious; what do you like to bring with you on travel? If you have traveled with regular sized guitars, what was your experience like with airline companies? Did they allow you to take your instrument with you on the plane?


